



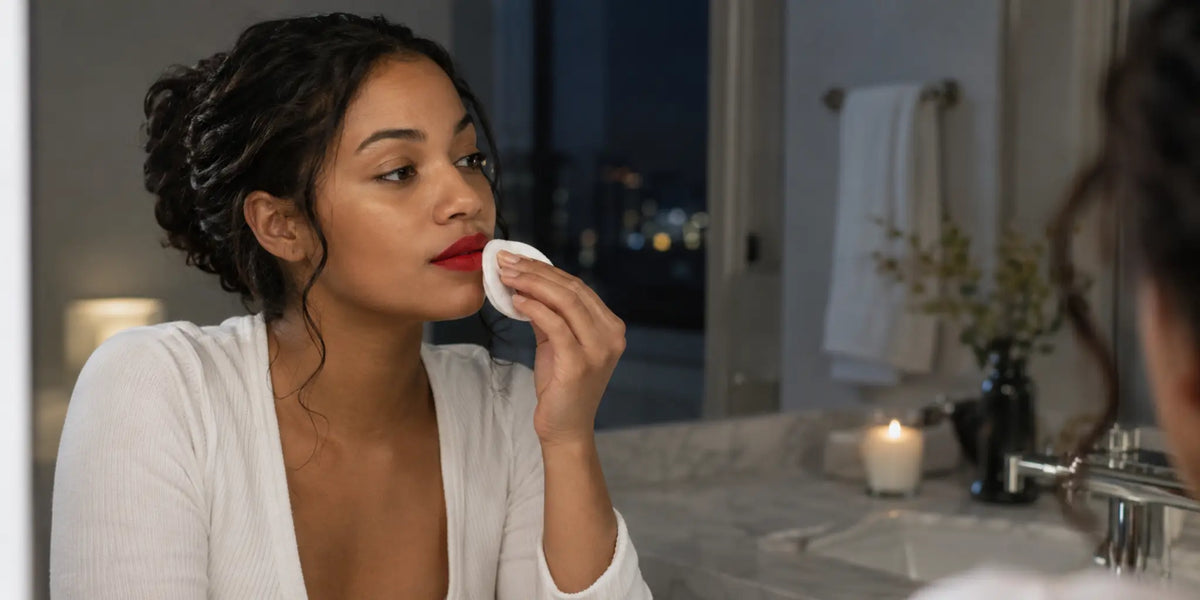
How to Remove Red Lipstick Without Scrubbing
The gentlest way to remove red lipstick is to loosen the color with a lip-compatible makeup remover, press and lift with a soft pad, and repeat instead of scrubbing. Start by blotting excess color, follow the remover label, and stop if your lips sting or feel uncomfortable. This practical cleanup matters right now: a vivid red lip is back in the fall conversation, including an Allure report published September 10, 2026.
Key Takeaways
- Blot first so there is less loose pigment to move around.
- Choose a remover whose label allows use on the lips, then give it time to loosen the color.
- Use a press-and-lift motion; repeated gentle passes are preferable to one hard scrub.
- Keep face cleansing and lip-color removal as separate jobs unless a product label clearly covers both.
Why Red Lipstick Can Take More Than One Pass
Red lipstick is easy to see, so even a thin trace at the lip line can look more noticeable than leftover nude or sheer color. Matte liquids, pencils, and lip stains may also leave different kinds of residue. That does not mean you need more pressure. It means the removal method should match the formula.
A plain tissue can lift loose surface color, but it may not be enough for a set formula. Water alone may move some color without loosening the rest. A lip-compatible remover can help separate the pigment from the surface so the pad can pick it up with less back-and-forth movement.
| What you see | A practical next step | What to avoid |
|---|---|---|
| Fresh, creamy color | Blot once, then use a lip-compatible remover if needed. | Spreading the color beyond the lip line. |
| Set matte lipstick | Hold a dampened pad in place briefly, following the remover directions, then lift. | Rapid side-to-side rubbing. |
| A faint tint remains | Repeat one gentle pass and accept that some formulas fade gradually. | Using a lip scrub just to chase the last trace of color. |
| Burning or stinging | Stop, rinse as the label directs, and do not add more products. | Assuming discomfort means the remover is working. |

How to Remove Red Lipstick Without Scrubbing
Step 01 — Wash and dry your hands
Clean hands matter whenever you touch your mouth or handle a product applicator. The FDA advises washing your hands before using cosmetics, reading the label, and following all directions and warnings. Dry your hands so you can control the pad without it slipping.
Step 02 — Blot the loose color
Fold a soft tissue into a flat surface, close your lips naturally, and press once or twice. Lift straight away rather than dragging the tissue across the mouth. Use a clean section for each pass so you are picking up color rather than redistributing it.
Step 03 — Choose a lip-compatible remover
Read the remover label before it touches your lips. Look for directions that clearly allow use on lip makeup or the lip area. A product marketed only for the face or eyes should not automatically be regarded as a lip remover. Do not improvise with household oils, harsh cleansers, or fragranced wipes simply because they are nearby.
Step 04 — Press, pause, and lift
Apply the amount stated on the remover label to a soft pad. Press the pad against the closed lips for the label-directed time, then lift or sweep very lightly from the outer edge toward the center. The pause gives the formula a chance to work without extra friction. Use a fresh section of the pad for the second side.
Step 05 — Check the lip line and repeat once if needed
Look at the corners and lower lip line in good light. If color remains, repeat the same gentle process rather than increasing pressure. For a long-wear formula, a small trace may remain after one careful cleanup. That is a better reason to pause than to keep rubbing.
Step 06 — Finish according to the label
If the remover says to rinse, use lukewarm water. Pat dry with a soft cloth. If your lips feel comfortable, keep the rest of the routine simple. The American Academy of Dermatology notes that burning, stinging, or discomfort are signs to stop using a lip product, while Cleveland Clinic advises skipping manual lip exfoliants when lips are already dry or sensitive.
Where Face Cleansing Fits
Lip-color removal and face cleansing may happen in the same nighttime routine, but they are not automatically the same step. Remove the lipstick with a product labeled for lips. Then cleanse the rest of your makeup according to those product directions. The AAD face-washing guide recommends using fingertips rather than abrasive tools and patting skin dry.
If the rest of your look includes foundation or face makeup, nooni Snow Aqua 0 LHA Toning Cleansing Oil is currently Active in a 200 ml / 6.76 fl oz size. Its official directions say to dispense an appropriate amount onto dry hands, massage over a dry face and eye area, add water to emulsify, and rinse thoroughly with lukewarm water. The directions do not specifically name lips or red lipstick, so this article does not present it as a lip remover; use a separate lip-compatible product unless the current package label says otherwise. For technique context, see whether cleansing oil goes on wet or dry skin.

Common Mistakes to Skip
- Scrubbing with a towel: Texture plus pressure can make a simple cleanup feel rough.
- Using a lip scrub as remover: A scrub is not a substitute for a formula designed to dissolve makeup.
- Reusing the same stained pad: Rotate to a clean section so pigment is lifted away.
- Assuming every oil cleanser belongs on the lips: Product names do not replace label directions.
- Adding product after discomfort starts: Stop instead of layering more formulas over the area.
The FDA explains that cosmetic ingredients can cause reactions in some people, which is another reason to check ingredient lists and stop when a product feels wrong for you. It also reinforces why broad promises about a remover or cleanser would be inappropriate. The FTC advertising substantiation policy requires objective advertising claims to have a reasonable basis.
Bottom Line
To remove red lipstick without scrubbing, blot excess color, use a remover labeled for lips, press and pause, then lift with a clean section of a soft pad. Repeat gently if needed and follow the label for rinsing. Keep face cleansing separate unless the product directions explicitly cover the lip area, and stop if burning, stinging, or persistent discomfort occurs.
Sources
- Allure: Anne Hathaway's red lip and nail look, September 10, 2026
- U.S. Food and Drug Administration: Using Cosmetics Safely
- American Academy of Dermatology: Face Washing 101
- Cleveland Clinic: Lip-care and manual exfoliation guidance
- U.S. Food and Drug Administration: Allergens in Cosmetics
- Federal Trade Commission: Advertising Substantiation Policy
Related Reading
- Lip Oil Before or After Lipstick? A Simple Layering Guide
- How to Remove Setting Spray at Night Without Over-Cleansing
- Oil Based Makeup Remover vs Oil Cleanser: Which Do You Need?
Frequently Asked Questions
Select a question to open the answer.
What removes red lipstick most gently?
A remover whose label allows use on lip makeup is the best starting point. Blot loose color first, press the remover-dampened pad in place as directed, and lift rather than scrub.
Can I remove red lipstick with only water?
Water may move some creamy lipstick, but it may not loosen set matte color or a stain. If color remains, use a lip-compatible remover and follow its label.
Should I use a lip scrub to remove lipstick?
No. A lip scrub is not a makeup remover, and extra friction is unnecessary. Use a labeled lip-makeup remover, a soft pad, and a press-and-lift motion instead.
Can I use face cleansing oil on my lips?
Only when the current product label clearly allows use on the lips. A face or eye-area direction does not automatically make a cleansing oil suitable for lip-color removal.
What if a faint red tint remains after cleansing?
Repeat one gentle pass with a clean section of the pad. If the color does not lift easily, stop rather than increasing pressure, and check the lipstick and remover directions.
Product & Skin Notice
This article is for general informational purposes only. Individual skin types, sensitivities, and results may vary. Always review the product label, ingredient list, directions, and warnings before use. Discontinue use if irritation occurs, and consult a qualified healthcare professional if you have an existing skin condition, known allergies, or persistent concerns.
Read more

Wash and fully dry your face before facial waxing; afterward, skip an automatic second cleanse and follow the wax label or professional guidance.
Learn how to remove tubing mascara with warm water, gentle pressure, label-first steps, and a no-scrub plan for the rest of your evening cleanse.