



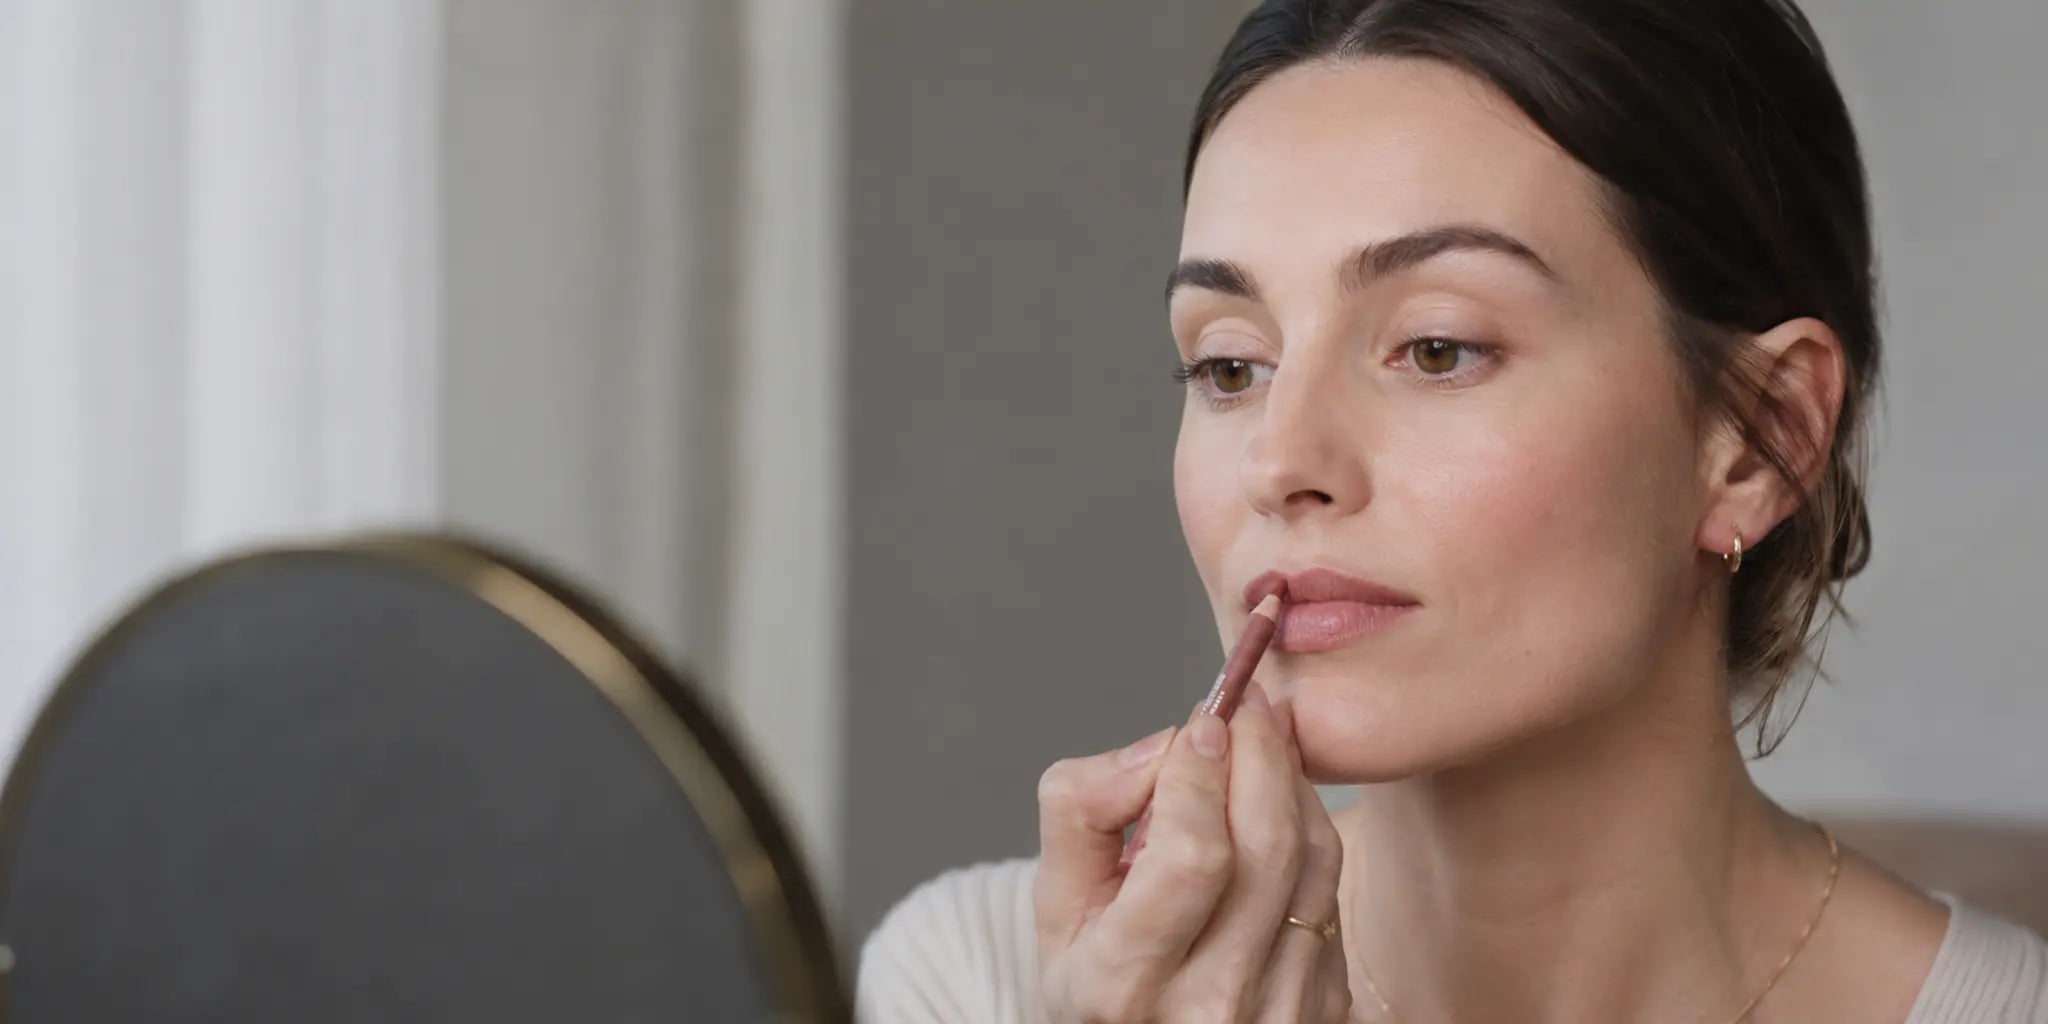
Lip Liner or Lip Oil First? A Step-by-Step Layering Guide
LIP-LAYERING GUIDE
For a clean, defined lip, apply lip liner first and lip oil second. Liner grips best on clean, dry lips, while a thin oil layer adds shine without making the outline harder to control. Reverse the order only when you want a softer, diffused edge—and blot the oil before drawing.
The “right” order is really a finish decision. A precise outline needs a relatively dry surface. A blurred K-beauty-inspired look benefits from more slip and softer edges. That distinction matters now because 2026 lip trends are centered on texture: Vogue highlights both blurred lips and glassy finishes, while Glamour notes the pairing of liners with glossy and sheer textures.
Key Takeaways
- Choose liner first, oil second for a crisp, intentional outline.
- For a softer edge, use a tiny amount of oil, blot, then apply liner with short strokes.
- Keep the first oil layer thin; excess slip can make the pencil skip or move.
- Place most of the oil inside the line, then lightly blend across the edge if desired.
- Product texture matters more than a universal rule, so adjust the order after one wear test.
Which Product Goes First?
| Desired finish | Recommended order | Why it works |
|---|---|---|
| Crisp and defined | Lip liner → lip oil | The pencil starts on a dry surface, so the edge is easier to place. |
| Soft and blurred | Very thin oil → blot → liner | A trace of slip makes the edge easier to diffuse instead of leaving a hard border. |
| Glossy center with a stable edge | Liner → oil at the center | Keeping most oil away from the perimeter helps the outline stay visually distinct. |
| More even-looking color | Line and lightly fill → tinted oil | A light pencil base reduces the contrast between the outline and the center. |
How to Layer Lip Liner and Lip Oil
Step 01 — Start with clean, comfortable lips
Remove leftover color and let the lip surface dry before drawing. If your lips feel uncomfortable, do not keep rubbing or scrubbing them to create a smoother canvas. The American Academy of Dermatology recommends stopping products that burn, sting, or feel uncomfortable and avoiding picking at dry lips.
If you use a separate balm first, give it time to settle and blot away the excess. The goal is a flexible surface, not a slippery one.
Step 02 — Sketch the liner with short strokes
Begin at the Cupid’s bow, mark the center of the lower lip, then connect the corners using short strokes. Following your natural edge is the easiest starting point. If you want a softer result, use the side of the pencil or gently tap the line inward with a clean fingertip or brush.

You can also shade a very light layer over the full lip. This is useful when your liner is deeper than your oil because it makes the transition look deliberate instead of leaving a ring around the mouth.
Step 03 — Add a thin layer of lip oil
Wipe excess product from the applicator, place oil at the center, and spread outward. For the most defined look, stop just inside the liner. For a seamless glossy look, use what remains on the applicator to pass lightly over the edge.

Step 04 — Check the edge before adding more
Press your lips together once, then look at the corners and Cupid’s bow. If the liner has shifted, use a clean cotton swab to lift the excess rather than stacking on more pencil. If the center needs more shine, add only a small second layer.
How to Adapt the Order to Your Look
For crisp definition
Keep lips dry, outline first, and concentrate oil in the center. Choose liner near your natural lip color or close to the oil tint. A large contrast can be stylish, but it makes any uneven edge more visible.
For a blurred K-beauty finish
Apply a trace of oil, blot until the surface feels almost dry, then sketch liner at the center and soften it outward. Vogue’s 2026 trend report describes blurred lips as a technique-led finish with diffused edges rather than meticulous outlining. If you want more color, tap a tinted oil at the center instead of drawing a hard perimeter.
For a glossy everyday look
Use liner only where you want definition—often the Cupid’s bow and lower center—then sweep a sheer oil across the lips. This shortcut keeps the routine light while preserving a little structure. Our tinted lip oil guide explains how tint intensity and finish affect the final look.
A Current nooni Example
The current official listing for nooni Appleberry Lip Oil describes a 3.7 ml (0.12 fl oz.) tinted lip oil with a light reddish color, clear glossy finish, apple seed oil, raspberry seed oil, raspberry fruit extract, and a botanical oil blend. The listed directions are to apply it evenly to clean, dry lips with the applicator tip and reapply as needed. It is currently marked available for sale.
That page does not make a lip-liner compatibility or wear-time promise, so use the product here as a texture and color example—not as a guarantee that every pencil will behave the same way. Ingredient lists can change; check the current product page and packaging before use.
Common Layering Mistakes
Using too much oil before liner
A wet surface makes precision difficult. Blot first, or return to the simpler liner-first order.
Dragging oil across a dark outline
Repeated swipes can pull pigment inward and muddy the center. Place oil rather than scrubbing the applicator back and forth.
Assuming every formula wears the same
Soft pencils, firm pencils, clear oils, and tinted oils move differently. Test the pairing for a few hours before choosing it for a long day or event.
Sharing lip products
Keep pencils and applicators personal, and follow package directions for storage and replacement. The FDA’s makeup guidance advises against sharing cosmetics and recommends keeping containers clean and tightly closed.
Bottom Line
Apply lip liner first and lip oil second when you want the most reliable definition. Use oil first only as a deliberate styling technique: keep the layer extremely thin, blot, and then soften the liner instead of drawing a sharp edge. Whichever order you choose, start with clean lips, use less product than you think, and build slowly.
Sources
- Vogue: 2026 lip trends in texture and finish
- Glamour: lip liner and glossy lip trends for 2026
- American Academy of Dermatology: dermatologist tips for dry, chapped lips
- U.S. Food and Drug Administration: Makeup
- U.S. Food and Drug Administration: color additives permitted in cosmetics
- U.S. Food and Drug Administration: Allergens in Cosmetics
Related Reading
- Does Lip Oil Have SPF? A Daytime Lip-Layering Guide
- Lip Oil vs Lip Gloss: Which One Should You Choose?
- National Lipstick Day 2026: 5 Lip Oil Looks to Try
Frequently Asked Questions
Select a question to view the answer.
Do you put lip liner before or after lip oil?
Put lip liner before lip oil for a clean, defined edge. Apply a thin oil layer afterward, starting at the center. If you want a blurred edge, you can apply a trace of oil first, blot it, and then soften the liner.
Can you put lip oil over lip liner?
Yes. Lip oil can go over lip liner. Use a small amount and place most of it inside the outline so the applicator does not pull too much pencil pigment toward the center.
Does lip oil make lip liner smudge?
It can, depending on the formulas and how much oil you use. A thin layer usually gives you more control than a heavy coat. Test the combination and keep extra oil away from the lip perimeter when definition matters.
Should you fill in your lips with liner before lip oil?
You do not have to, but a light allover pencil layer can make color look more even and reduce contrast between the outline and the center. Avoid pressing hard; a thin base is enough.
Can you use both clear and tinted lip oil with liner?
Yes. Clear oil preserves the liner color while adding shine. Tinted oil changes the overall color, so pair it with a compatible liner or test the combination first to see how the shades blend.
Read more

Learn how much face cleanser to use, why coin-size rules are only starting points, and how to adjust for formula, coverage, and skin feel each wash.

Can you wash your face with just water in the morning? Learn when a water-only rinse may work and when a gentle cleanser makes more practical sense.